- Introduction
The term “period stitching” describes the methods employed to make garments and fabrics during particular historical eras. This can incorporate attire from other eras as well, such as the Victorian era, the 18th century, the Renaissance, and the mediaeval era. While “historical” refers to any period in the past, “period” refers to a particular era Check out details guide.
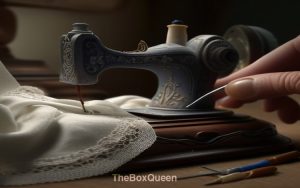
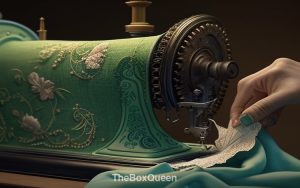
Traditional sewing methods
Traditional sewing methods, including hand sewing, are frequently used in historical sewing to produce clothing that is as true to the period in question as feasible. This can involve employing certain textiles and threads, as well as emulating traditional building and decorating methods. Historical reenactment, a hobby in which people recreate and relive various historical eras, is popular among people who are interested in period sewing. This can involve things like living history activities, when participants dress historically accurate and engage in activities typical of the period they are reenacting.
-
Definition of period sewing
If you’re interested in period sewing, it’s a good idea to start by learning as much as you can about the clothing and materials that were used during the period that most fascinates you. You can learn about the materials, construction processes, and decorating techniques employed in various times by consulting a variety of books and online sites.
Additionally, it’s a good idea to begin with straightforward tasks, like making a basic chemise, then progress to more challenging clothing as you develop knowledge and self-assurance. There are numerous online communities where you may connect with others interested in historical sewing and receive advice, such as forums, social media groups, and online courses.
Last but not least, you might consider going to some historical reenactment events. Many of these events frequently feature merchants selling period-appropriate attire, which can help you decide what to make and what supplies and methods you’ll need.
-
Brief history of period sewing
The art of period sewing has been practiced for thousands of years and may be traced to ancient civilizations including Egypt, Greece, and Rome. These ancient societies produced much of their clothing by hand, utilizing basic materials like linen and wool and primitive equipment like needles and thread.
The middle Ages saw the development of increasingly sophisticated construction techniques, such as the cutting and sewing of clothes in several pieces and the addition of decorative embellishments like embroidery. Clothing at this time was frequently quite expensive and regarded as a status symbol.
With a focus on fit and proportion in clothes, historical sewing skills continued to progress during the Renaissance. The development of tailoring methods made it possible for clothing to have a more fitting, tailored appearance. During this time, lace, braid, and embroidery were frequently employed as decorative components.
Due to the growth of fashion and the development of the fashion business, historical sewing skills achieved new heights throughout the 18th century. With the development of tailoring and dressmaking methods, garments got more intricate and elaborate and utilized pricey fabrics and decorations.
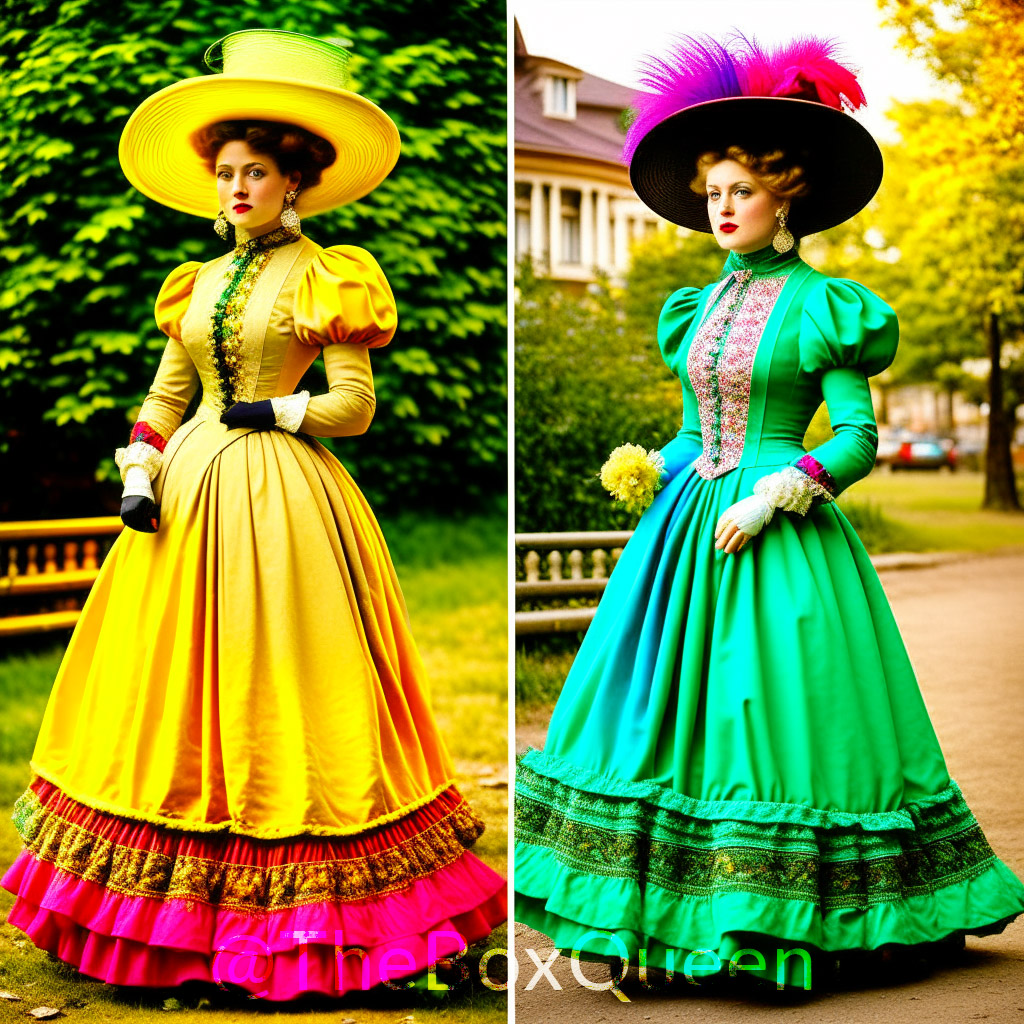
The trend toward ever-more intricate and extravagant attire was carried over into the Victorian era. This historical period saw the use of numerous hand sewing techniques, including smocking, pin tucking, and embroidery. The invention of the sewing machine made it possible to produce clothing more quickly and effectively, which had a significant impact on historical sewing and sewing menstrual pads for charity.
Overall, the practice of period sewing has changed over thousands of years due to the use of various techniques, materials, and fashions. People can research and replicate these outfits from bygone ages using a variety of resources, which will help them comprehend history, culture, and fashion design better.
-
Types of Period Sewing
Period stitching comes in a wide variety of styles, each of which is related to a particular historical era. Here are a few illustrations:
-
Medieval sewing
This style of historical sewing often entails making clothes that would have been worn in Europe between the 5th and 15th centuries during the Middle Ages. Wool and linen were frequently used to make clothing during this time period, and simple stitching or trim was frequently used to embellish it. Basic stitches were frequently used while hand stitching clothing.
-
Renaissance Sewing:
Making clothing that would have been worn in Europe between the 14th and the 17th centuries entails Renaissance stitching. With the use of intricate embroidery and embellishment, clothing throughout this time became increasingly extravagant and decorative. A more sophisticated understanding of tailoring methods led to more precisely fitting and tailored clothing.
-
18th Century Sewing:
The 18th century saw the employment of intricate needlework and embellishments to create highly ornamental clothing. The art of tailoring had developed to the point that clothing was tightly fitted and constructed from numerous components. The fashion business also began to take off during this time period.
-
Victorian sewing
Victorian sewing is the process of making clothes that would have been worn in the 19th century, during Queen Victoria’s reign. During this time, elaborate trim, smocking, pin tucking, and embroidery were frequently used to decorate clothing. During this time, sewing machines also started to be used more often.
-
Edwardian Sewing:
Following the Victorian era is the early 20th century, which is covered by the Edwardian era. This period’s clothing is distinguished by less elaborate, cleaner lines, and straightforward designs. During this time, sewing machines were also used more frequently.
These are only a few examples of the various kinds of historical stitching that are available. Each era has its own own traits and fashions, and those who are interested can research and reproduce these outfits to learn more about the history, culture, and fashion of that age.
Clothing and Accessories
From simple undergarments to extravagant gowns and costumes, a vast variety of apparel and accessories can be made using period stitching.
- Medieval garments such as tunics, robes, and surcoats
- Renaissance garments such as doublets, breeches, and farthingales
- 18th century garments such as waistcoats, petticoats, and hoopskirts
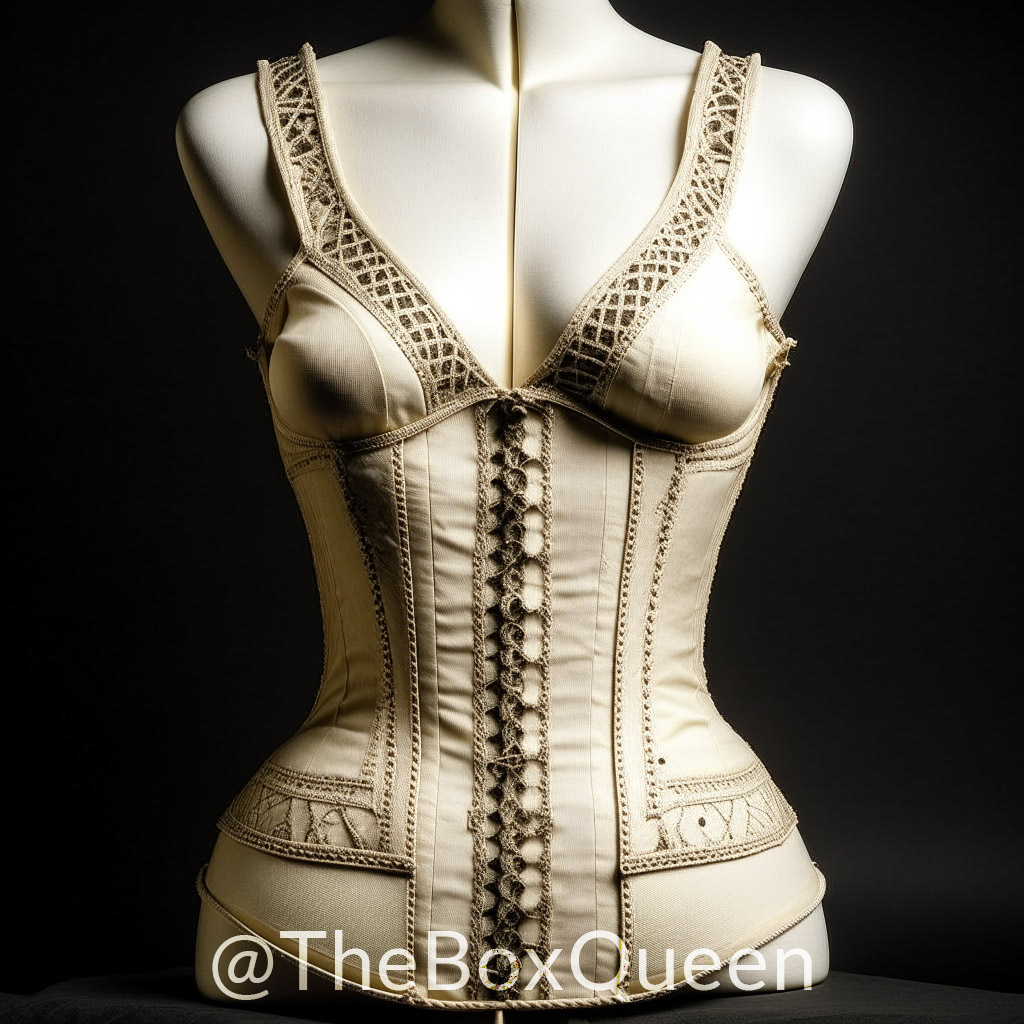
- Victorian garments such as corsets, crinolines, and bustles
- Edwardian garments such as chemise, blouses, and walking suits.
Accessories that can also be created using period sewing techniques include:
- medieval-era headwear such as coifs, hoods, and wimples
- Renaissance-era headwear such as ruffs, coifs and caps
- 18th-century-era headwear such as tricorn hats, mob caps, and bonnets
- Victorian-era headwear such as bonnets, hats, and veils
- Edwardian-era headwear such as cloche hats, boater hats, and turbans.
Using historical methods and materials, it is also possible to create other items like handbags, shoes, or jewellery. Some reenactors take it a step farther by creating their own historically correct clothing from scratch using needlework, weaving, or dyeing methods.
In general, period sewing can be used to produce a wide variety of outfits and accessories that are true to particular historical eras. Although it requires some effort and talent, the results may be quite satisfying and help you gain a better understanding of the past.
Techniques
Depending on the historical era you are attempting to reproduce, period sewing skills can differ greatly. Here are a few illustrations of some typical stitching methods from the time period:
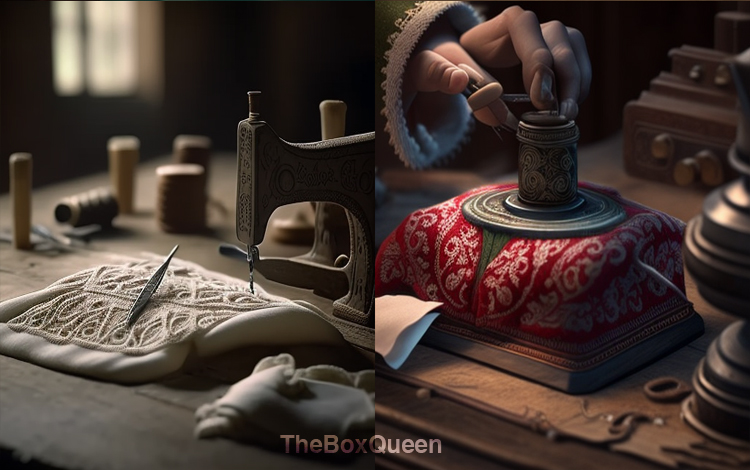
- Hand-sewing: Since it has been around for so long, hand sewing is still widely utilized in historical sewing. Some of the fundamental stitches used in historical sewing include whipstitch, backstitch, and running stitch.
- Tailoring: Custom-fitted clothing is created through the process of tailoring. This method was created in the Renaissance and improved upon in the 18th century. To give clothing a more fitting and tailored appearance, tailoring includes cutting and stitching various parts together.
- Embroidery: Fabric is embellished with embroidery using a needle and thread. This method, which may use a broad variety of different stitches including chain, satin, and cross stitches, was frequently used throughout numerous historical eras.
- Smocking: A raised design is created by stitching fabric into little pleats as part of the ornamental technique known as smocking. Clothing from the Victorian and Edwardian eras frequently featured it.
III. Materials and Tools
The materials and tools you need will depend on the task or project you’re working on. Nevertheless, the following is a list of some typical supplies and equipment that are regularly utilised in a range of projects:
Materials:
- Wood
- Metal
- Plastic
- Glass
- Stone
- Ceramic
- Fabric
- Paper
- Cardboard
Tools:
- Hammer
- Screwdriver (Phillips and flathead)
- Pliers
- Wrench (adjustable and pipe)
- Drill and drill bits
- Saw (hand saw, circular saw, miter saw)
- Sandpaper
- Level
- Tape measure
- Chisels
- Hand plane
- Paint brushes
- Screws, nails, and other fasteners
-
Hand-sewing techniques
The act of manually stitching with a needle and thread is known as hand sewing. When hand sewing, a variety of methods can be employed, such as the following:
-
Running stitch:
The simplest hand-sewing method, this one is used to attach two pieces of fabric together. Bring the needle up through the cloth, then back down a short distance away to establish a running stitch. Repeat this technique to make a row of stitches.
-
Backstitch:
This variant of the running stitch, which is stronger, is frequently used for seams. Bring the needle up through the fabric and back down a short distance to create a backstitch. Bring the needle back up through the fabric a little bit behind where it was last brought up. In order to make a row of stitches, repeat the procedure.
-
Whipstitch:
This method is employed to sew two fabric edges together, such as when hemming. Bring the needle up through the fabric on one edge, cross it over to the other edge, and then re-insert it into the cloth to create a whipstitch. In order to make a row of stitches, repeat the procedure.
-
Blanket Stitch:
This method is employed for ornamental or edge work, frequently seen on blankets or quilts. This particular running stitch is carried out in a loop. As a result, each time the needle is inserted, a small loop is left on top of the edge, which is subsequently linked to the following loop.
-
Ladder Stitch:
Using this method, openings can be closed, like the opening in a cushion cover. The ladder stitch is a sort of invisible sewing that gets its name from the way the finished product seems to be a ladder.
-
Machine-sewing techniques
The act of stitching textiles together with a sewing machine is known as machine-sewing. When machine stitching, a variety of techniques are available, such as the following:
-
Straight Stitch:
The majority of sewing activities, including stitching seams and adding buttons and zippers, are completed using this most fundamental machine-sewing technique. It produces an ongoing, straight stitching line.
-
Zigzag Stitch:
This method is used to finish the raw edges of fabrics, stop them from fraying, connect elastic, and create buttonholes. The fabric can stretch without the thread snapping because of the zigzag stitch’s zigzag pattern of stitches.
-
Overcast Stitch:
Finishing the raw edges of fabrics using this method will stop them from fraying. It makes a continuous stitching line that extends beyond the fabric’s edge and fixes it in place.
- Blind Hem Stitch:
This method can be used to hem clothes and other objects. It results in a hem that is concealed from view from the fabric’s front.
-
Decorative Stitch:
Using this method, one can embellish a project with decorative accents. Modern sewing machines are equipped with a wide range of decorative stitches, including buttonhole, scallop, and others, that can be used to adorn materials.
-
Quilting Stitch:
It produces a zigzag pattern of stitches that hold the fabric layers together and is used to quilt materials.
Use the right stitch for the job at hand when machine sewing, and make any necessary adjustments to the tension and stitch length. Additionally, it’s crucial to practice, familiarize yourself with the many stitches your machine is capable of, and learn how to regulate the machine, such as changing the speed.
-
Finishing techniques
“Finishing techniques” in historical sewing relate to the procedures used to finish and reinforce a garment or cloth to increase its durability and enhance its beauty. Following are a few instances of finishing methods that were widely utilised in the past:
- Hemming:
This method is used to finish the raw edges of fabric, most frequently the bottom edge of a garment, to prevent fraying and improve the way the garment hangs. Hand or machine hemming was used.
-
Bindings:
The raw edges of fabric, such as those on the neckline, sleeves, or bodice, are finished with this method. It is a fabric strip that is stitched onto the cloth’s raw edge in order to cover it and give it a tidy finish.
-
Facings:
This method is used to finish the unfinished edges of fabrics, such as those found at the collar, neckline, front, or back of the bodice. In order to give the garment a nice finish, they are similar to bindings but include a second layer of cloth that is folded in and put in place.
-
Lining:
In order to insulate the wearer from the scratchy or abrasive textiles used in the garment’s production and to improve the garment’s hang, this technique is used to cover the interior of a garment, such as a coat.
-
Interfacing:
This method helps specific parts of a garment, such the collar or cuffs, maintain their shape by offering support and reinforcement. This used to be frequently accomplished using buckram cloth, but today, several interfacing materials can be used.
- Boning:
This method helps a garment maintain its shape by adding support and reinforcement to particular regions, like the bodice. Steel or whalebone were frequently used for this.
These are only a few examples of the finishing methods that were frequently employed in the past; the technique chosen will depend on the type of fabric and the time period in which the garment was manufactured. Many of these finishing methods are still utilised today by costume designers and tailors to create historical or replica outfits.
-
Tips for period-accurate sewing
There are a few suggestions to bear in mind when making period-appropriate clothing to make sure your finished product is as accurate and genuine as possible:
- Study the time period and fashion of the garment you are making: It’s crucial to have a solid understanding of the sewing and fashion trends from the time period you’re attempting to recreate. Look for images and illustrations of original clothing to obtain an idea of the specifics that should be included as you research the style and structure of the garment you’re creating.
- Use historically accurate textiles and trims: The choice of fabric and trim can significantly alter how a garment appears. Use textiles and trimmings that were typical of the time period you’re attempting to recreate. In the 18th century, for instance, cotton and linen were frequently utilised, although silk and velvet became more popular in the 19th century.
- Pay close attention to the minor details, since they can have a significant impact on the final appearance of the garment. Examples of such features are buttons, closures, and trim. Keep in mind the styles of trims and closures that were prevalent in the period you’re attempting to recreate. In the 18th century, for instance, buttons and buttonholes were frequently utilised, whereas in the 19th century, snaps and hooks and eyes were more prevalent.
- Learn the patterns of the era: Whether it’s draping, sloper patterns, or commercial patterns, each era has its own distinctive patterns and design components. Study them and utilise them to create the right patterns.
- Use skills that are acceptable for the time period you’re attempting to recreate. Sewing methods can vary from one period to the next. For instance, machine sewing grew more frequent in later times whereas hand sewing was more common in earlier ages.
- Pay attention to the fit: A garment’s fit can have a significant impact on how it looks as a whole. Make any necessary alterations to the garment’s fit to make it look realistic, paying close attention to how it fits as you go.
- Finally, practice, practice, practice: The key to achieving the desired look is to constantly practice and try out new approaches. And keep in mind that you will improve as you do it more.
-
Resources and Community
For individuals who are interested in historically accurate sewing and costuming, there are numerous materials and societies accessible. Several instances include:
Historical Sewing and Costuming Groups: The sewing and costuming of the past is the focus of numerous internet forums and communities. These communities can be an excellent place to gather suggestions and encouragement from people with experience in historically accurate sewing and costuming.
Books and Patterns: There are numerous books and patterns that offer comprehensive instructions and designs for making period-appropriate clothing. The Cut of Men’s Clothes” by Norah Waugh, “Patterns of Fashion” by Janet Arnold, and “Costume in Detail” by Nancy Bradfield.
Museums and Historical Societies: The history of fashion and sewing during various eras can be better understood by visiting museums and historical societies. A lot of these institutions include historical clothing collections that can be explored and enjoyed.
Costuming and Living History events: visit living history or reenactment events. It’s a fantastic way to learn more about the era, view historical clothing up close, and get inspiration for your own work.Online tutorials and video classes: There are many online tutorials, video classes and blog posts available from talented costumers and tailors, giving tips and tricks, showcasing their work and sometimes giving lessons on different techniques.
Social Media: On social media sites like Instagram, Facebook, and YouTube, there are a lot of skilled costume designers and tailors showing their work and inspiring others.
A fantastic approach to gain support, guidance, and inspiration for period-accurate sewing, costumes, or reenactments is to join a community or organization of people who share your interests. They may also present chances to connect with individuals who share similar interests and gain knowledge from others’ experiences.
- Conclusion
In conclusion, creating historically correct clothing demands meticulous attention to detail and a complete study of the sewing and fashion trends of the period you’re attempting to recreate. For the purpose of producing an original and accurate end product, it is crucial to conduct period-appropriate research, use historically accurate fabrics and trims, pay attention to minute details, learn relevant patterns, employ proper techniques, and practise. It is possible to find help and inspiration from a variety of sources, including books and patterns, historical societies, museums, social media, living history events, online forums and communities, and many skilled costumers and tailors. Keep in mind that learning the skills and honing the subtleties requires patience and time. but with a little work and perseverance, you can make lovely, accurate, and genuine historical clothing.
- Recap of the main points
The primary points of making period-appropriate clothing that were covered in the previous response are as follows:
- Do some research on the time period and design of the clothing you’re making, as well as the sewing and fashion trends of the time.
- Use historically authentic materials and trims that were typical of the time period you are attempting to recreate.
- Pay attention to the small details, such as the vintage-style trim, buttons, and closures.
- Apply the era’s patterns and design features to your clothing by studying them.
- Use sewing techniques that are appropriate for the time period, such as hand sewing for earlier times and machine sewing for later eras.
- Pay close attention to how the clothing fits.
- Practice, practice, practice will help you improve and hone your skills.
- It is possible to get support and inspiration from a variety of sources, including books and patterns, historical societies, museums, social media, living history events, online forums and communities, as well as numerous skilled costumers and tailors.
- Final thoughts and suggestions.
My final ideas and advice for anyone interested in making historically correct clothing:
- Start with a well-thought-out plan: Before starting any sewing project, do some study on the historical context, fashion trends, and structure of the garment you intend to make. Study images and illustrations of authentic clothing, and pay attention to the little aspects that define the garment as authentic.
- Take precise measurements: Be sure to take precise measurements of the wearer of the garment before you begin cutting your fabric. A properly fitted outfit is necessary for a genuine appearance.
- Use the right materials and trims: Make sure to choose textiles and trims that were typical of the time period you’re attempting to recreate. This will increase the garment’s authenticity when it is finished.
- Practice, Practice, Practice: You’ll get better the more you practice. To determine which strategies and approaches are most effective for you, try experimenting with various options.
- Get support, guidance, and inspiration by joining a community of people who are interested in period-authentic sewing, costumes, or reenactments.
- Be sure to enjoy yourself! The most crucial thing is to have pleasure in the journey, learn from it, and develop along the way. And keep in mind that the experience of making it is more important than producing a flawless outfit.
- I wish you well as you go on your quest to sew historically appropriate clothing.
I hope these tips and suggestions guide you on your period-accurate sewing journey.